Belt
Tensioning
Belt
Replacement
Motor
Replacement
Replacing the X-Axis Stepper Motor
Important: Power off printer
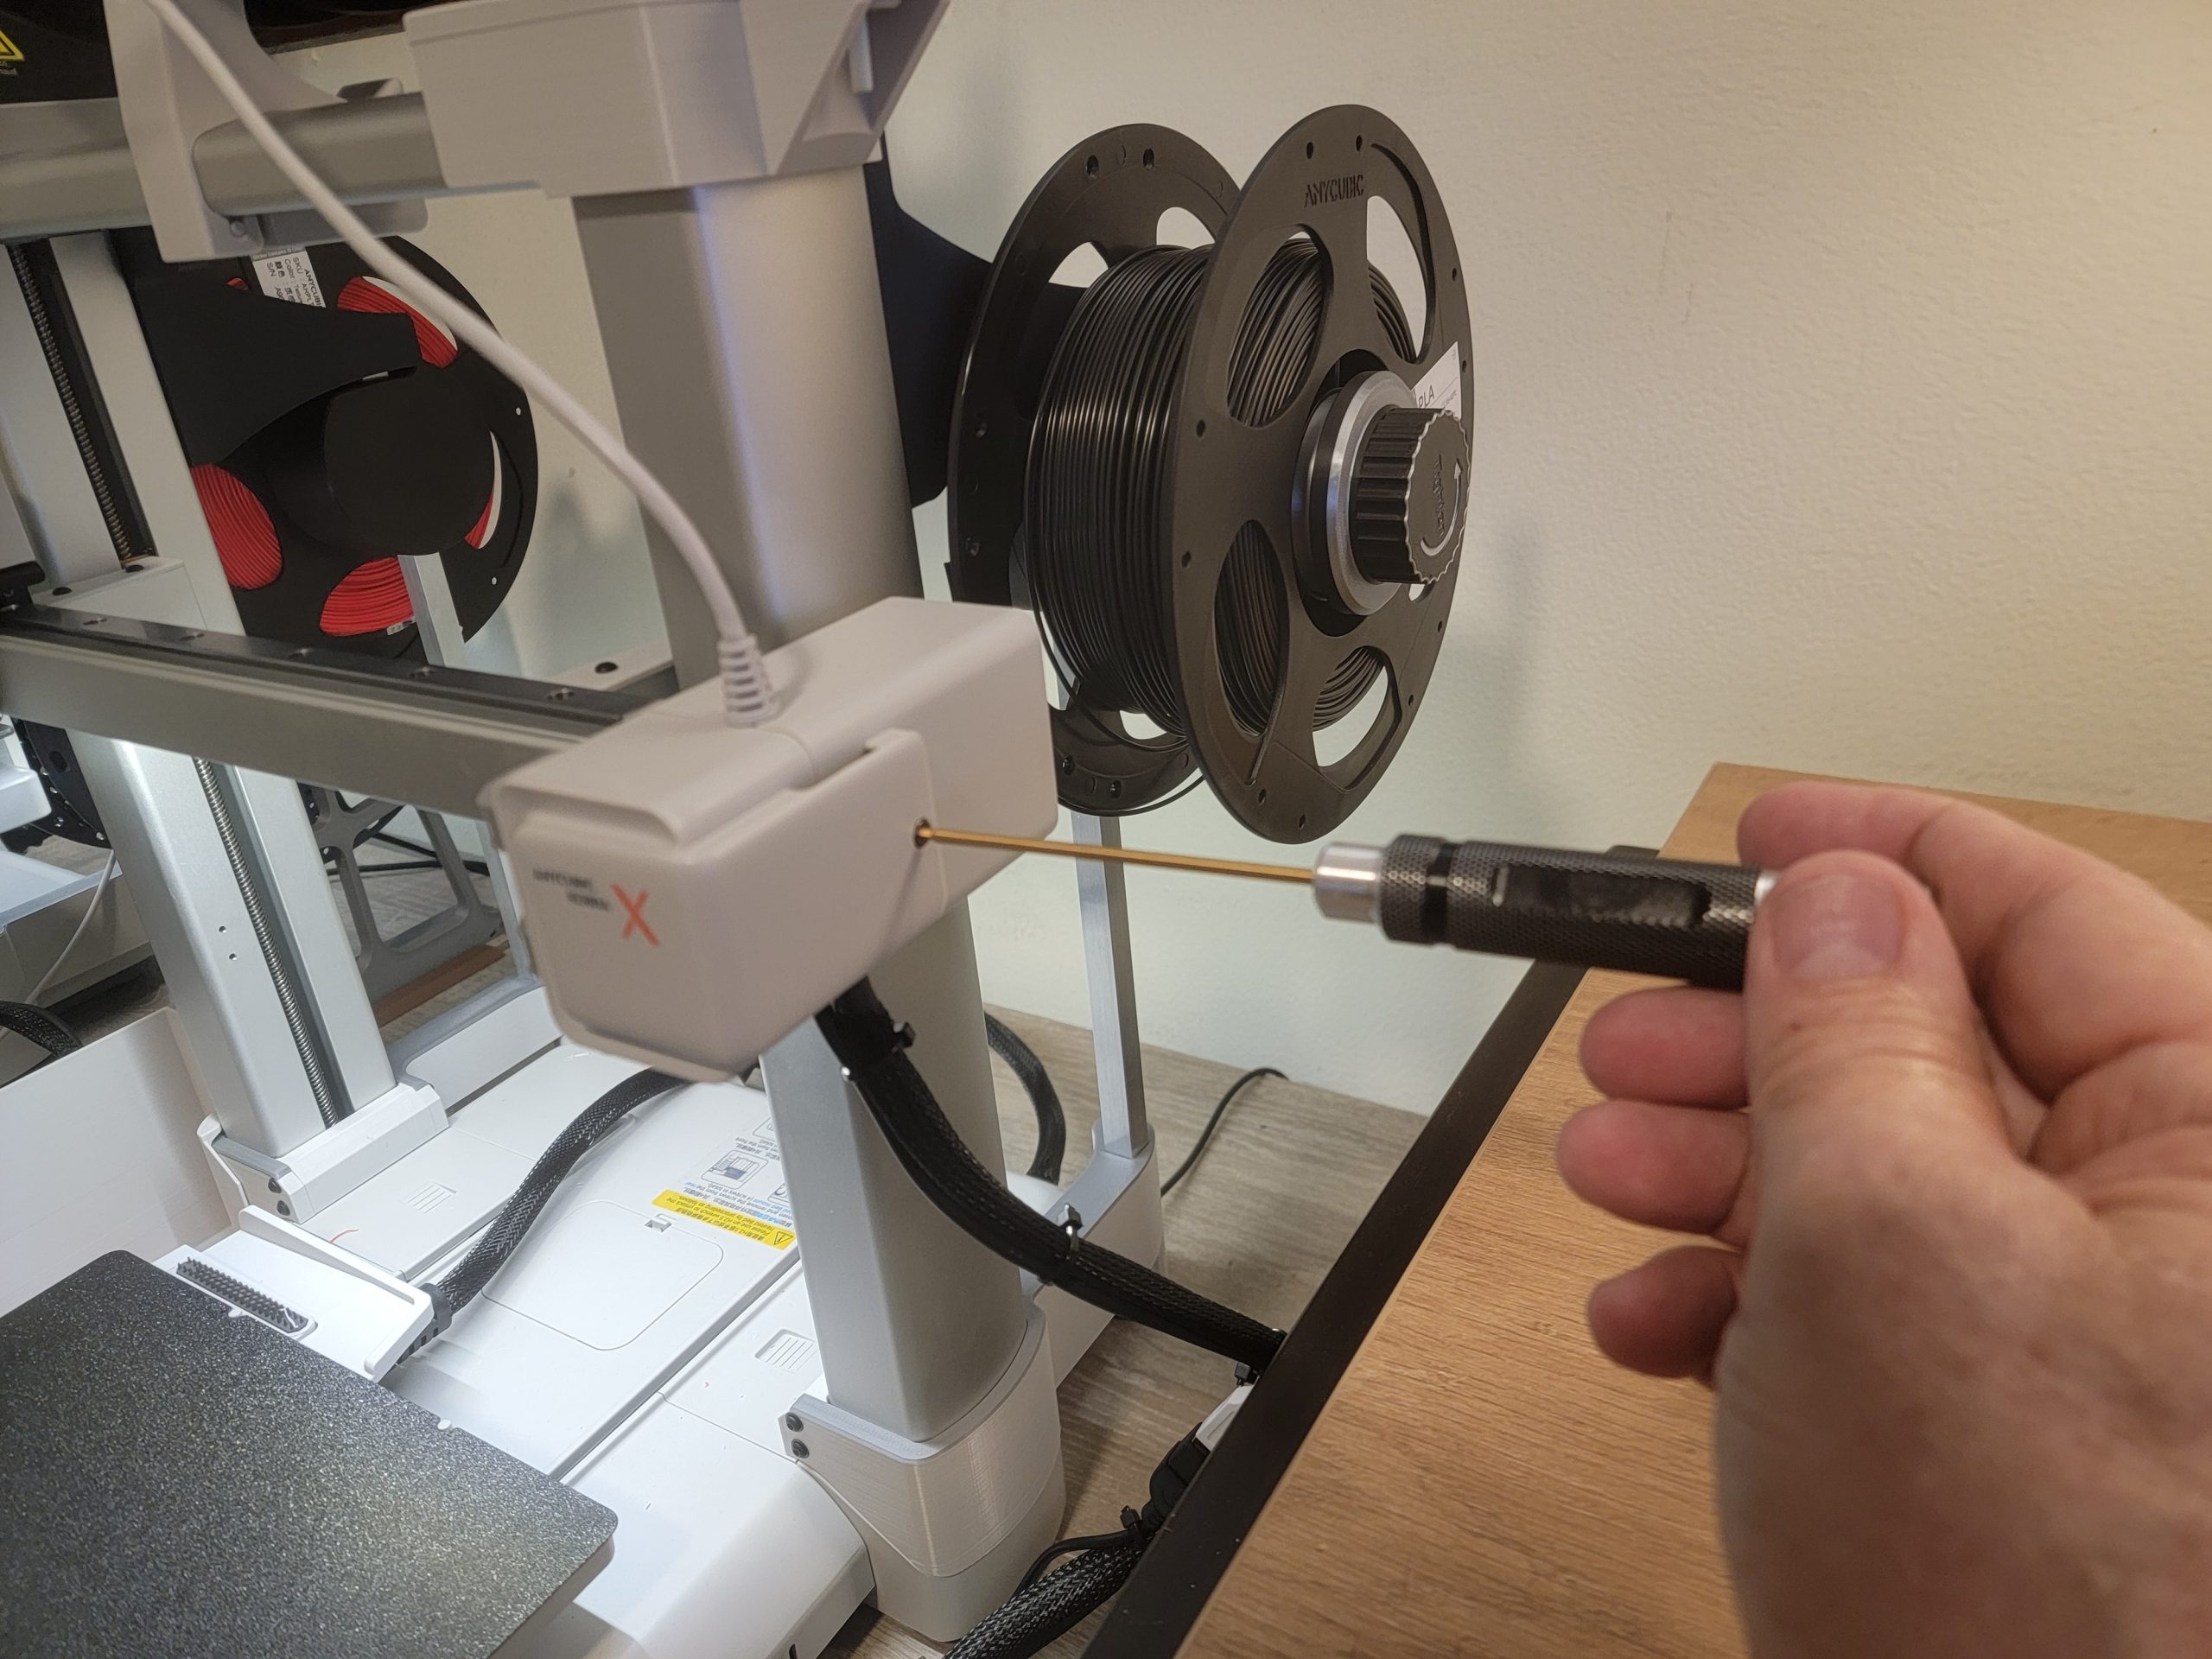
Remove the 2 mm allen screw securing the side of the right-side housing (Figure 1).
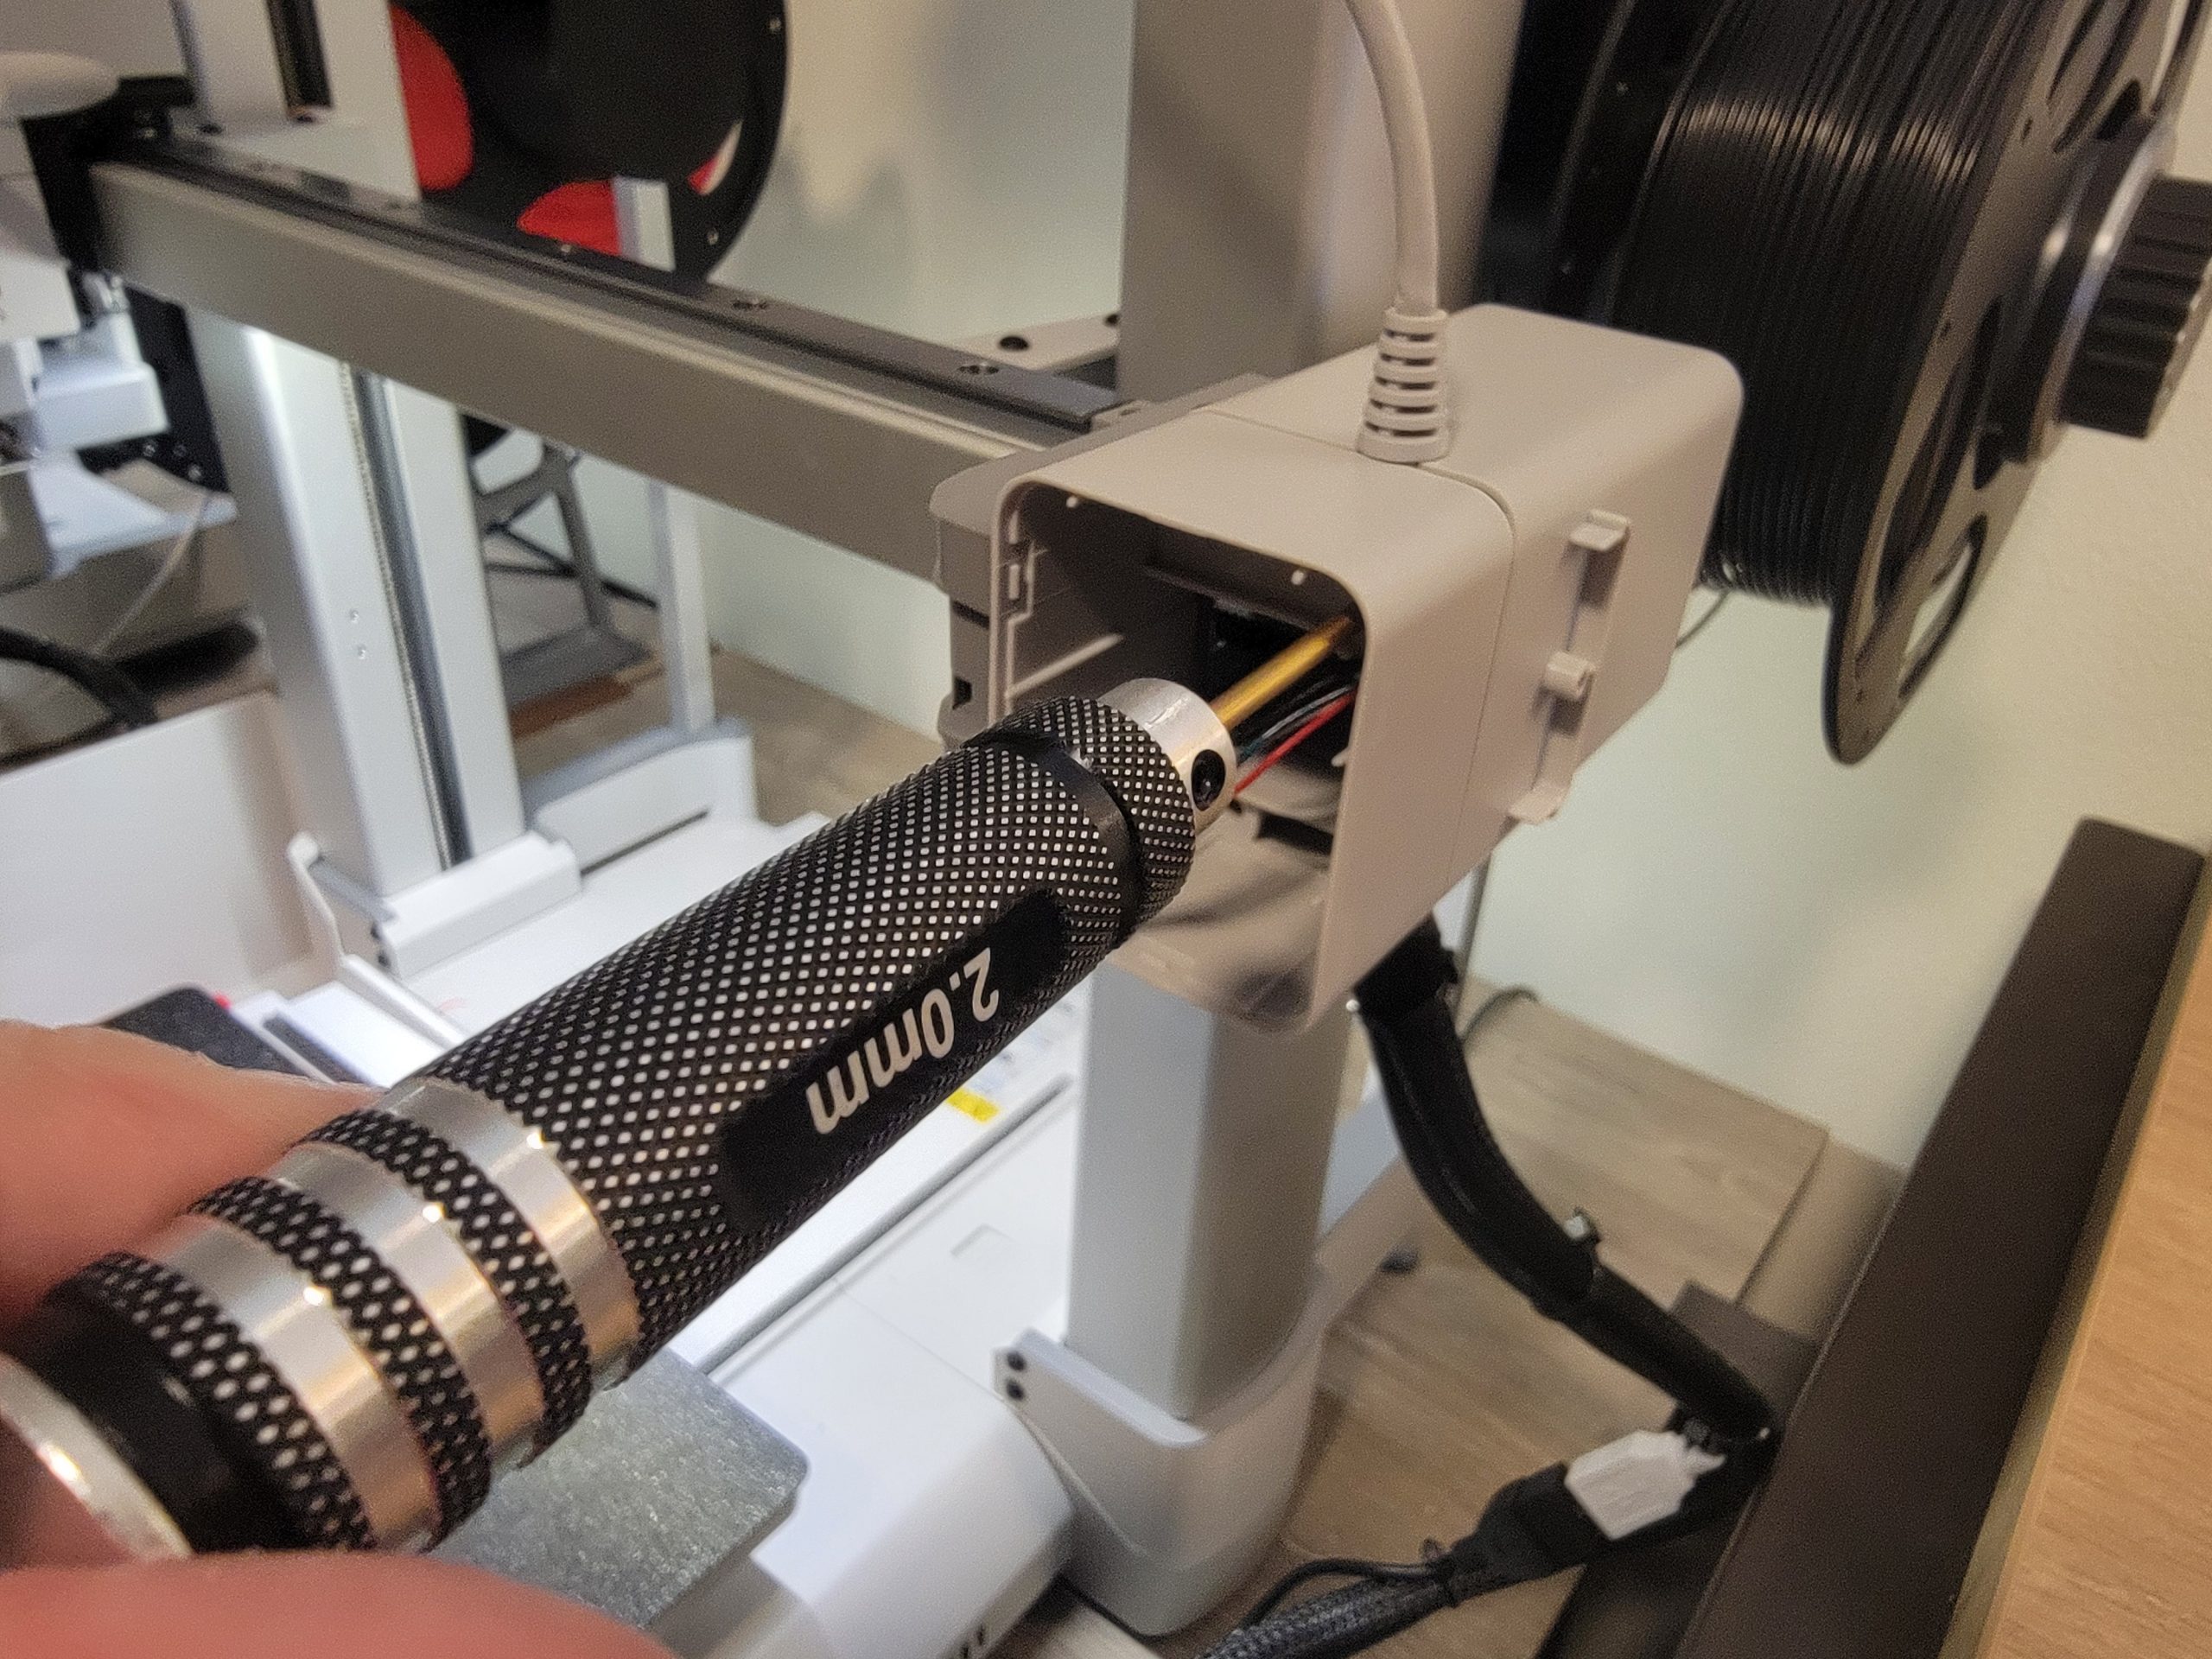
You can remove the front cover by snapping it off. The only thing holding it on is the side screw. Disconnect the camera cable noting the orientation, Next, remove the three 2 mm allen screws inside the housing (Figure 2). Set the cover aside
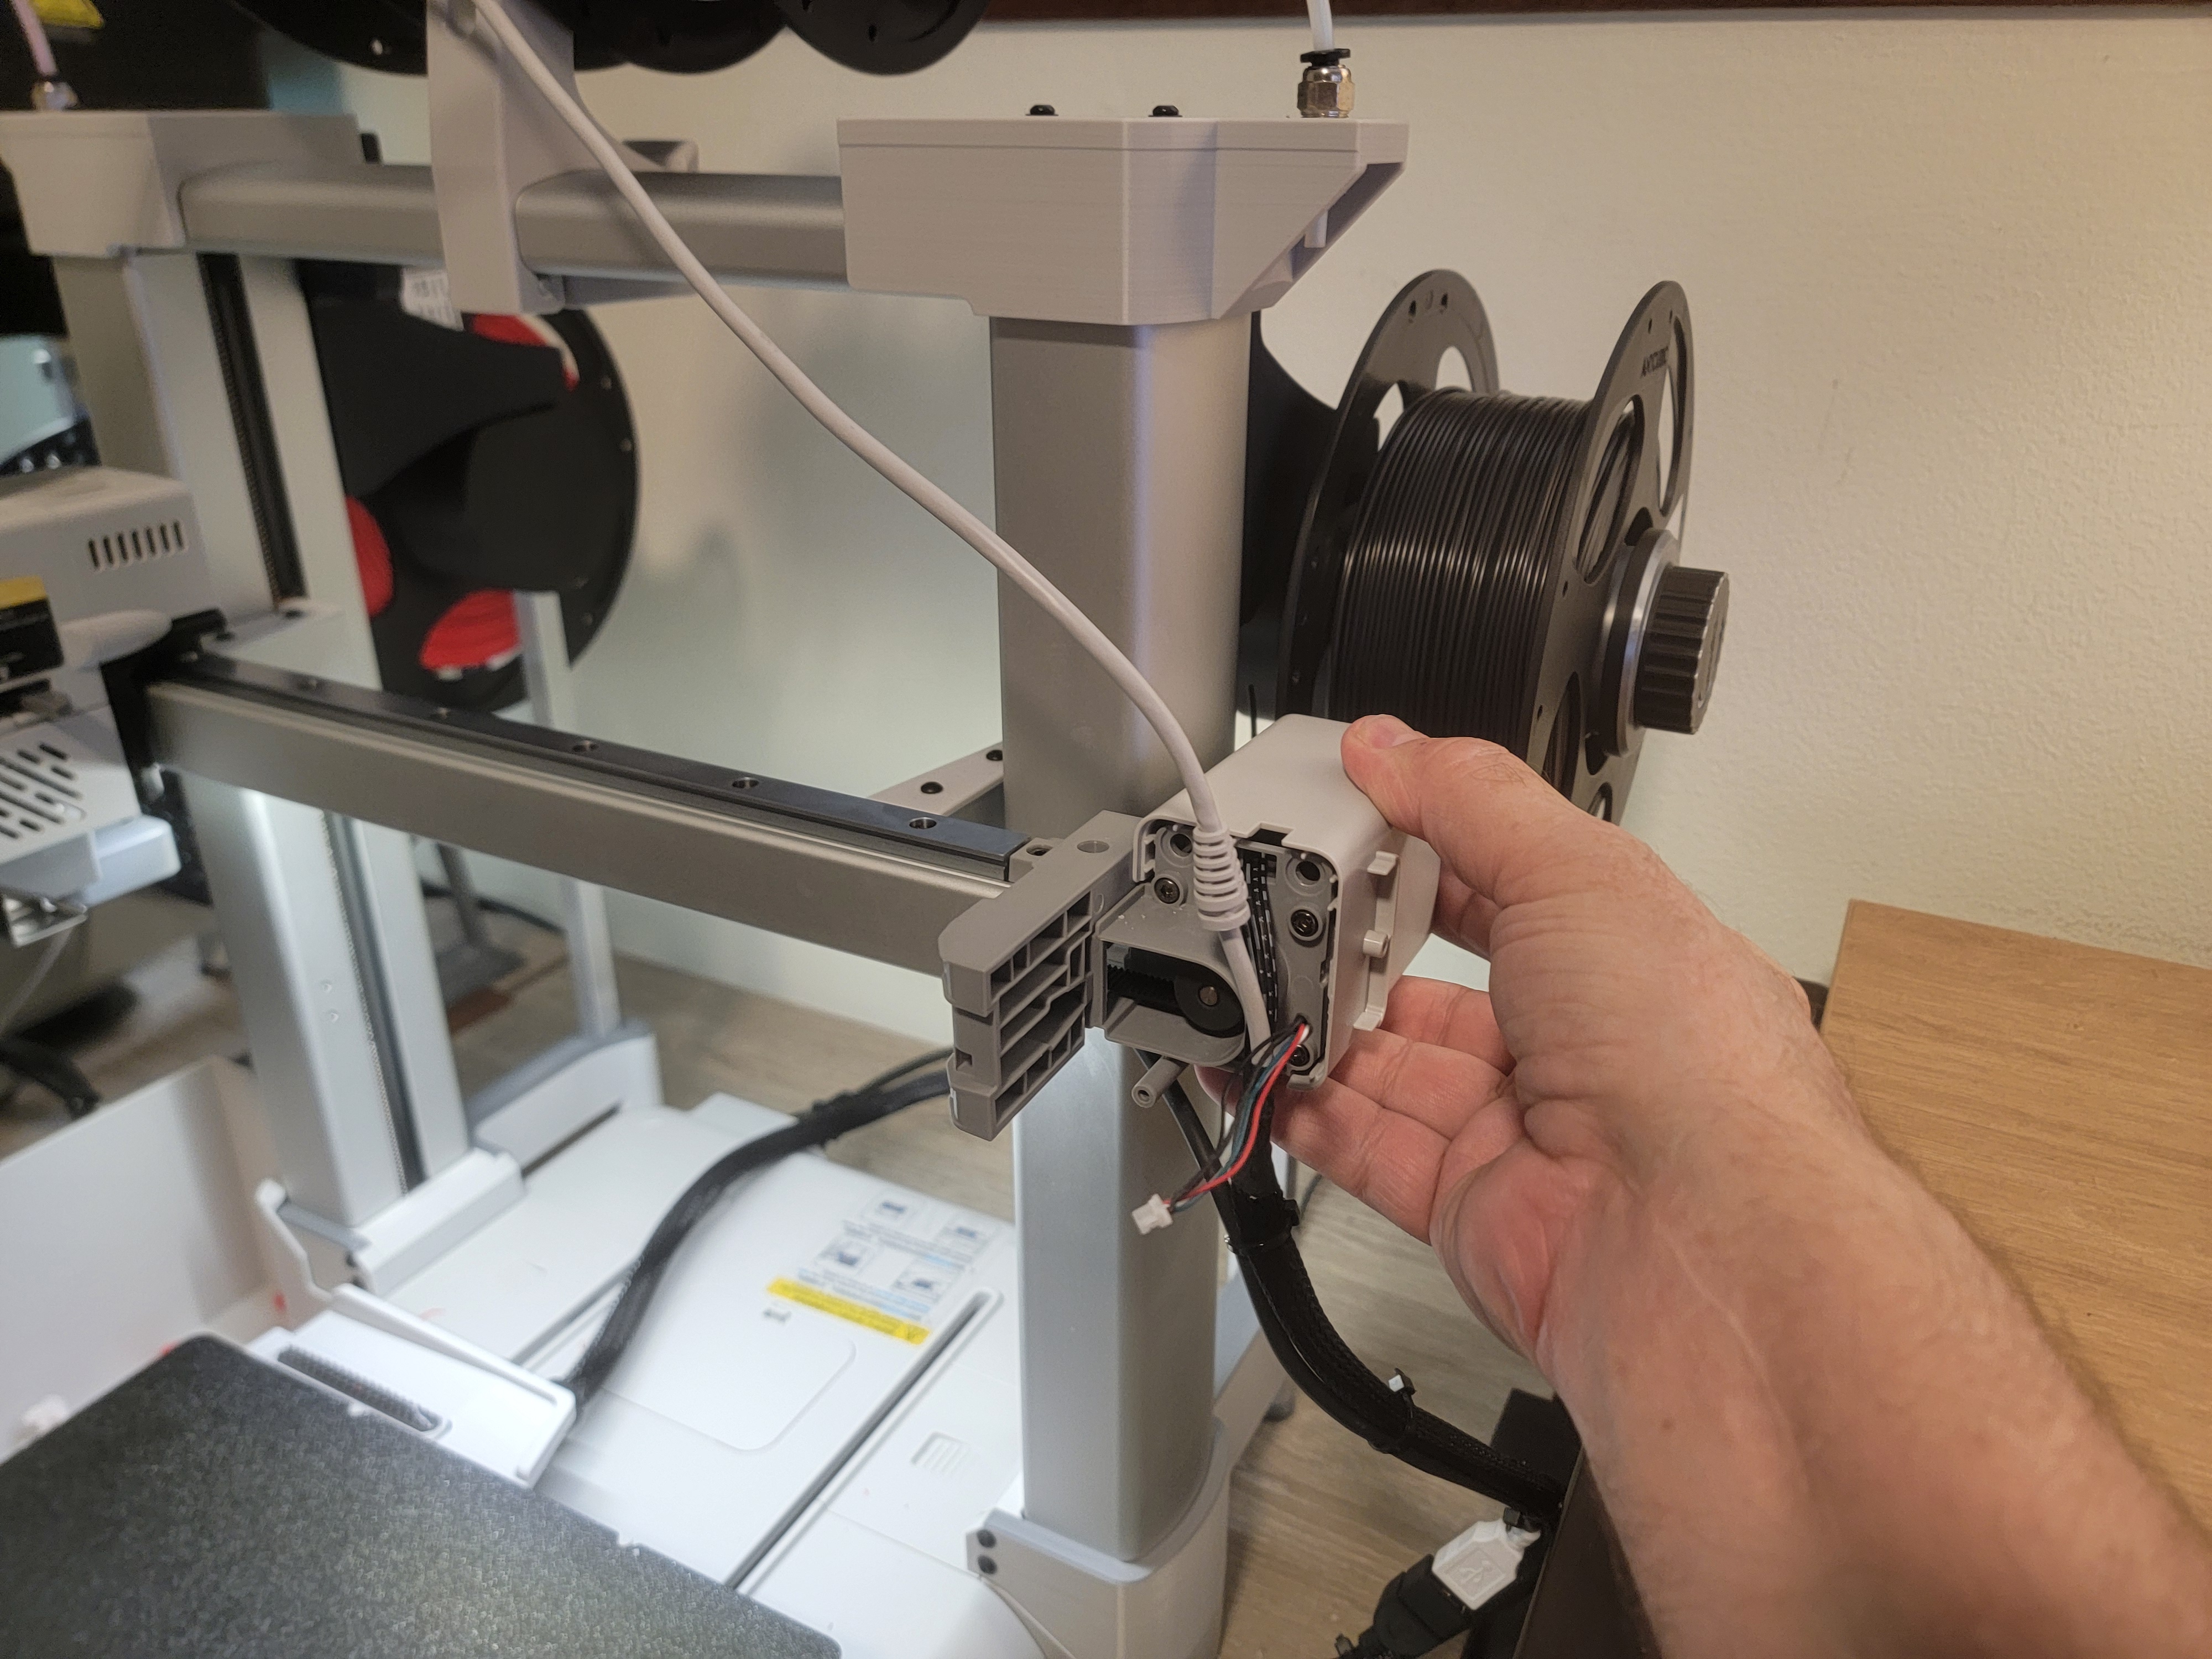
Slide the rear half of the housing straight back. You may need to gently pull down on the lower edge of the cover to prevent it from catching (Figure 3). The stepper motor is now fully exposed (Figure 4).
Before removing the motor, the belt tension must be released. Follow the belt tensioning procedure on the belt tension page for more detail. To access the tensioner assembly, remove the left cover near purge ejector and loosen the two tension locking screws, then tighten the center spring compression screw. This compresses the spring and removes tension from the belt.
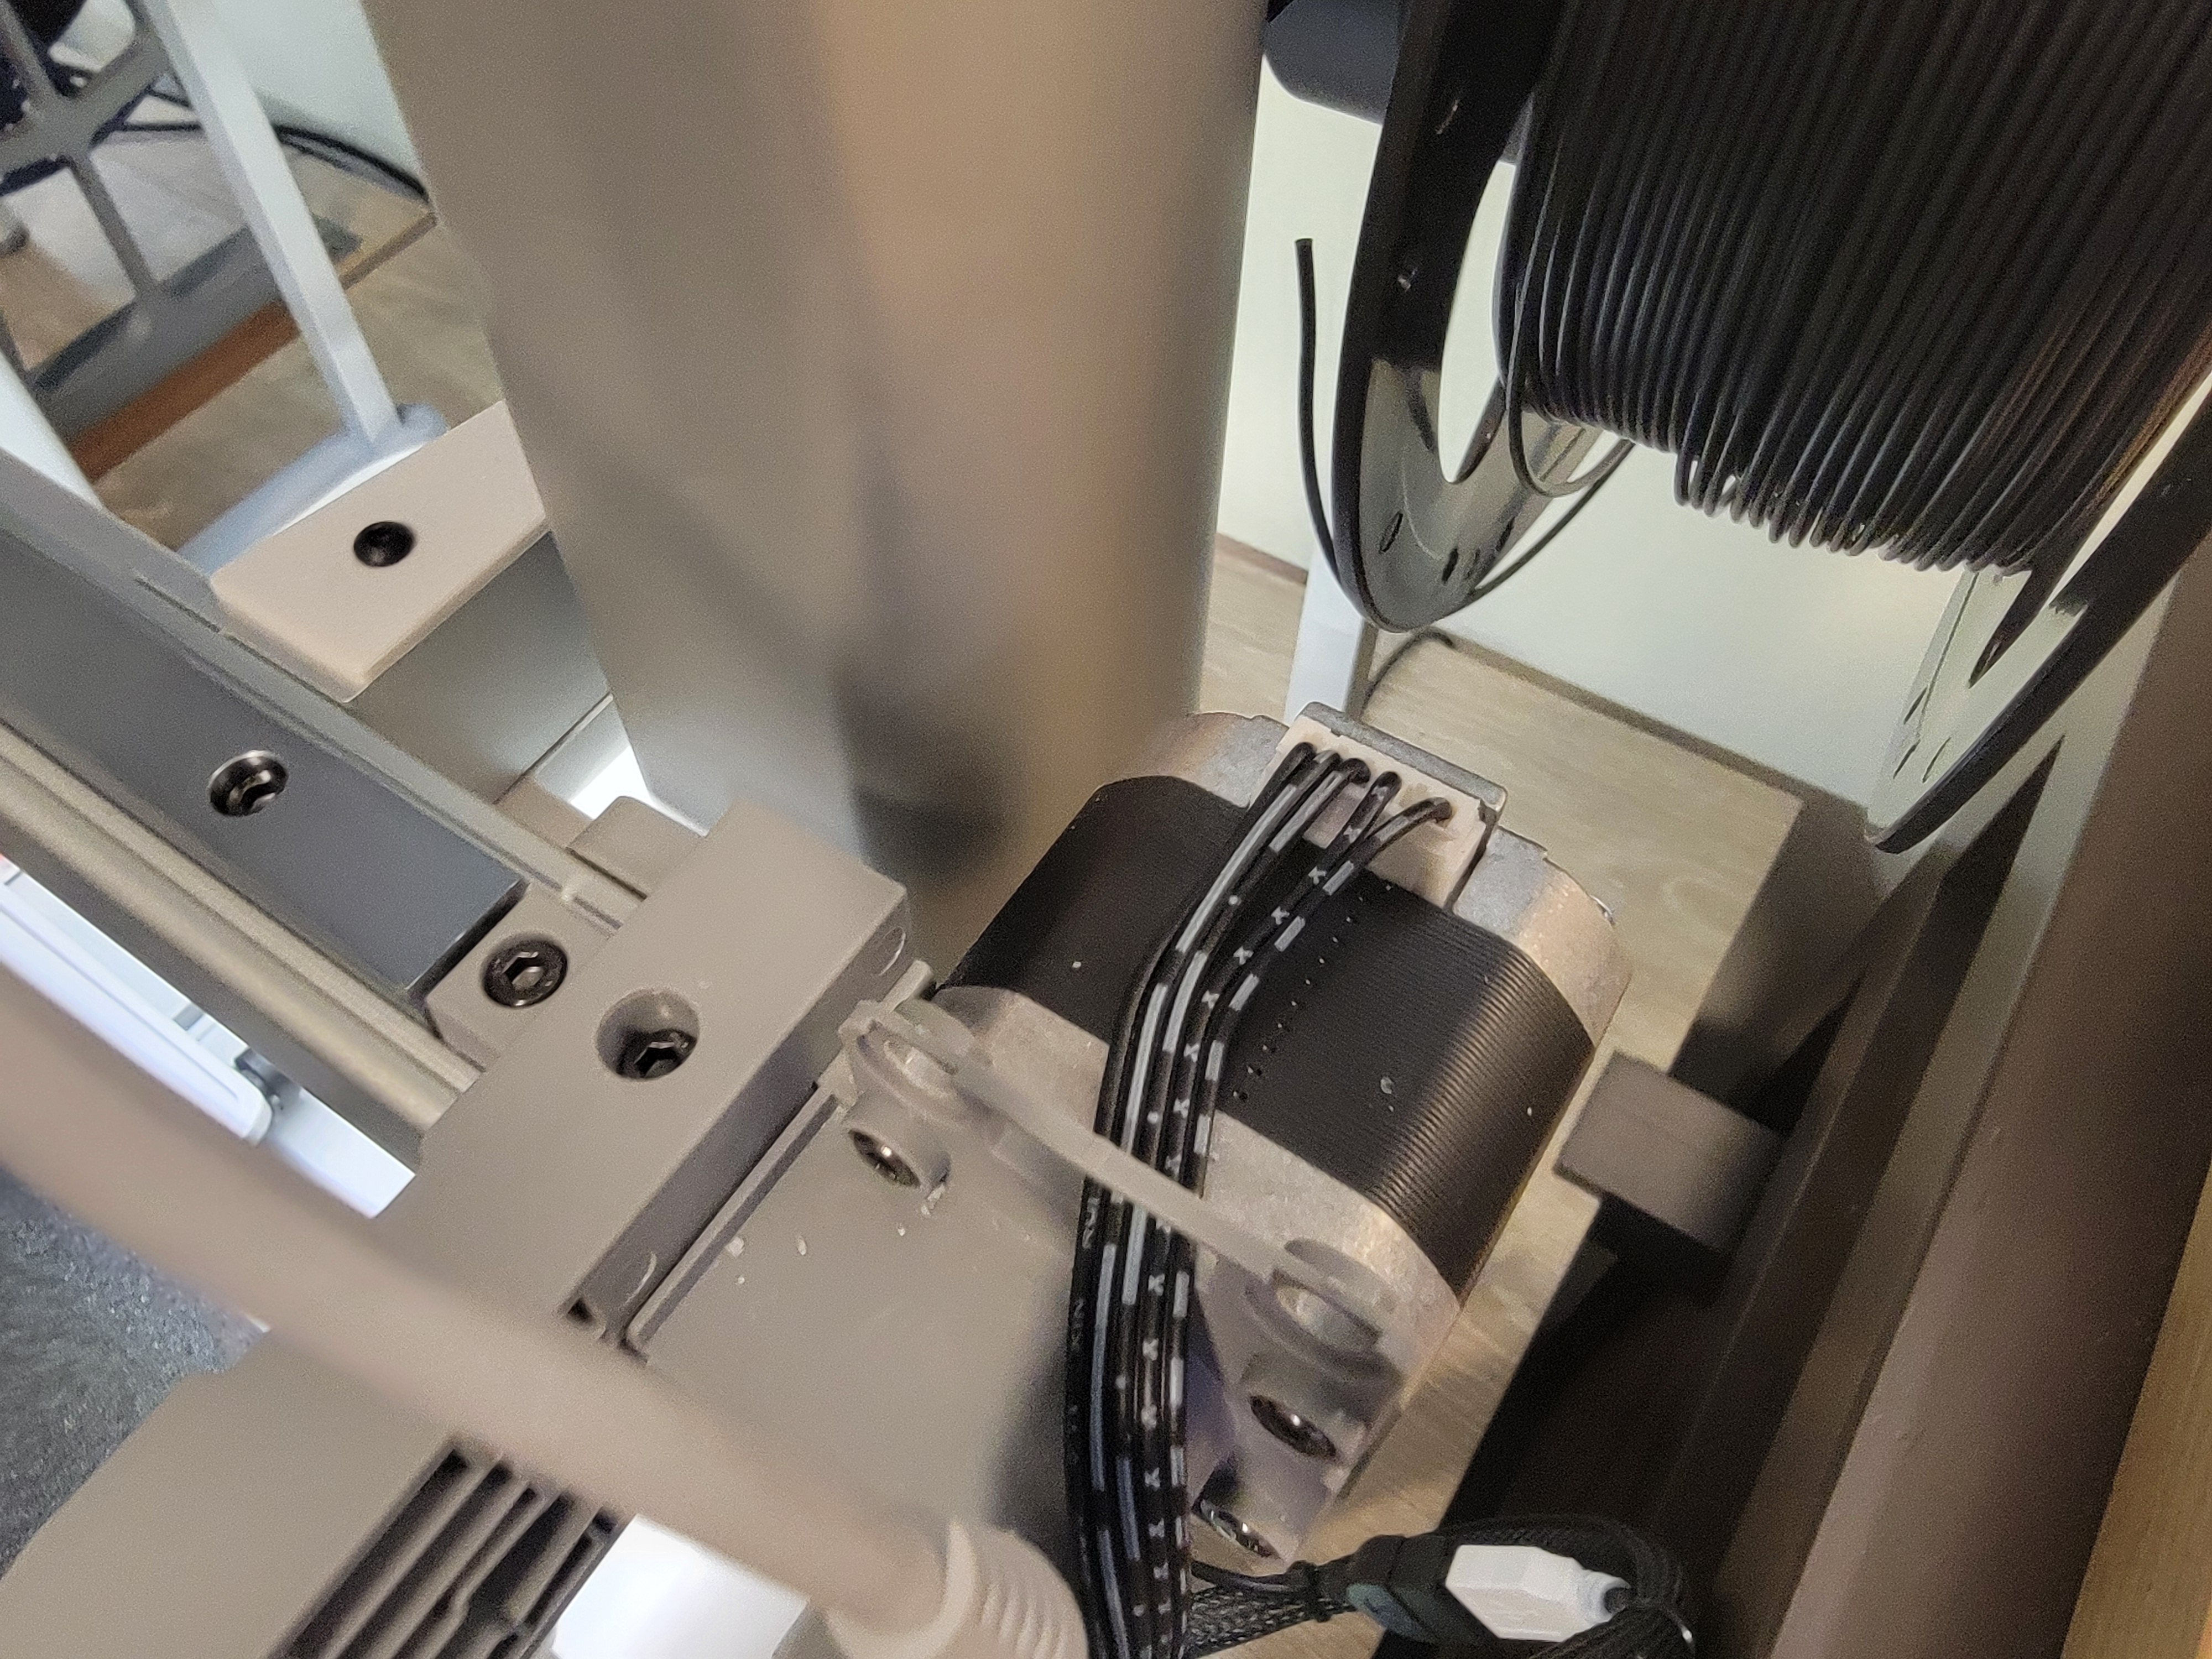
Disconnect the motor wiring harness
Remove the four machine screws securing the motor and lift the motor out.
Install the new motor by reversing these steps. After installation, restore the proper belt tension using the procedure above.
Pro Tip: It is common for screws threaded into plastic to eventually lose their grip.
If this happens, wipe a very thin coat of two-part epoxy or cyanoacrylate (CA) glue to the damaged plastic threads using a peice of filament. Allow the adhesive to fully cure before reinstalling the screw. This reinforces the threads and often restores a secure fit.