The cone and collar mount in the top of the heat sink in the orientation show. The collar goes in first and the 4 into 1 cone is locked in place with setscrew.

The cone and collar mount in the top of the heat sink in the orientation show. The collar goes in first and the 4 into 1 cone is locked in place with setscrew.

Raccoon Engineering Logo small

4 into 1 cone (and collar)

The cone and collar mount in the top of the heat sink in the orientation show. The collar goes in first and the 4 into 1 cone is locked in place with setscrew.

4 into 1 cone (and collar)

The cone and collar mount in the top of the heat sink in the orientation show. The collar goes in first and the 4 into 1 cone is locked in place with setscrew.

a

4 into 1 cone (and collar)

The cone and collar mount in the top of the heat sink in the orientation show. The collar goes in first and the 4 into 1 cone is locked in place with setscrew.

M

4 into 1 cone (and collar)

The cone and collar mount in the top of the heat sink in the orientation show. The collar goes in first and the 4 into 1 cone is locked in place with setscrew.

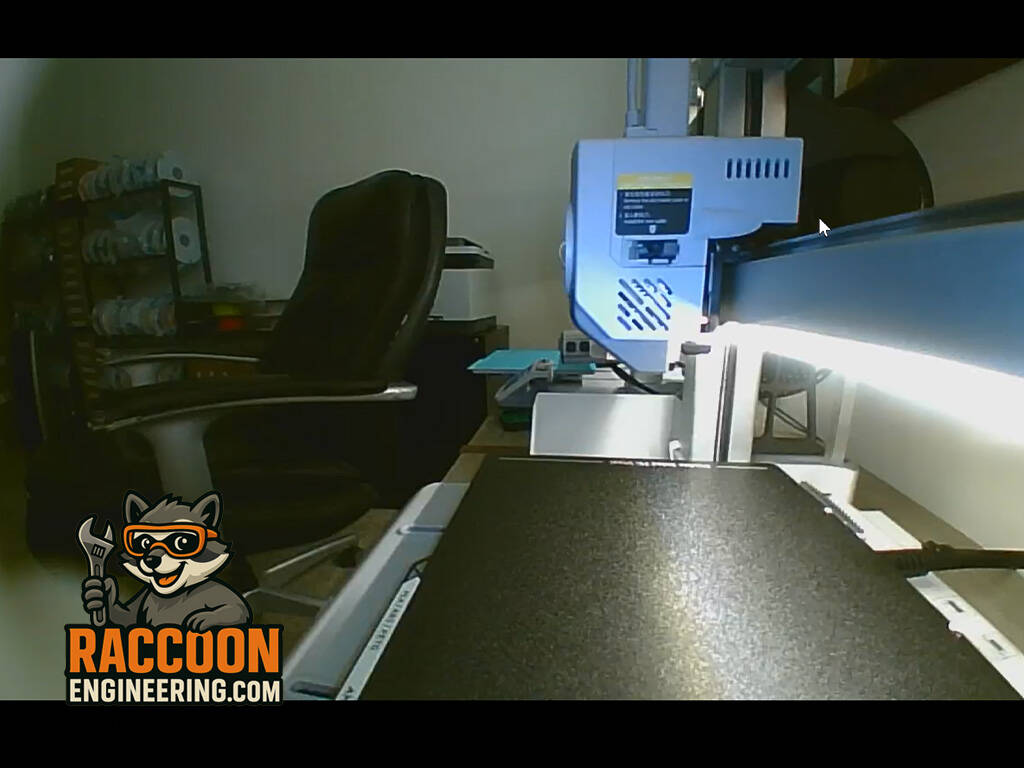
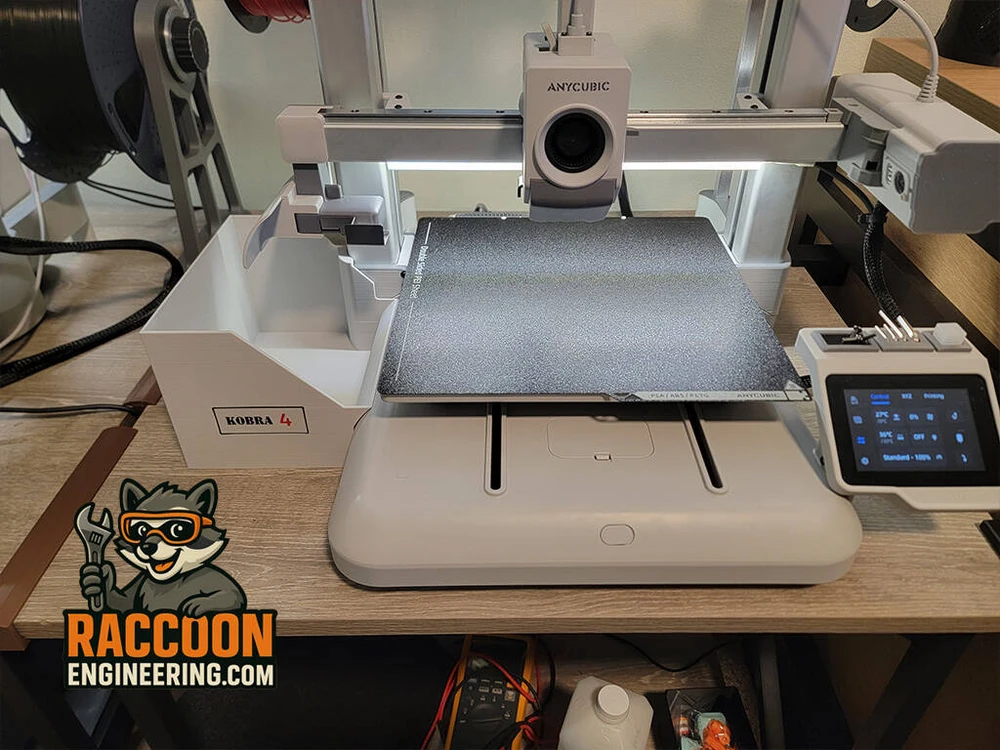
Kobra 4 Gantry Lighting
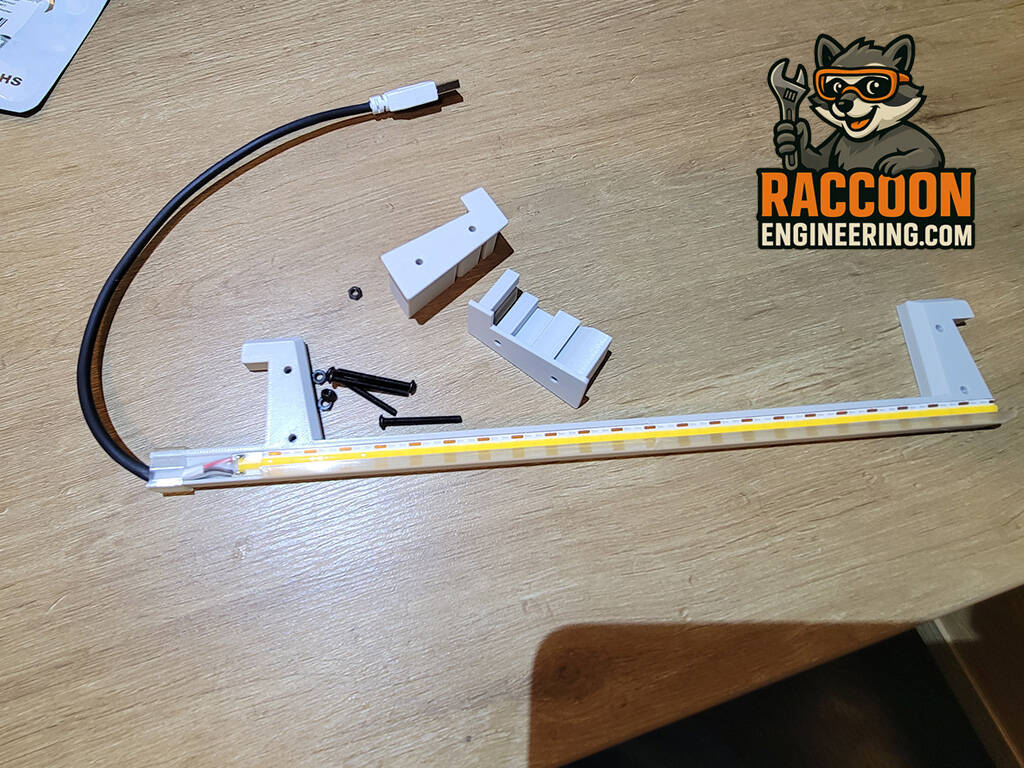
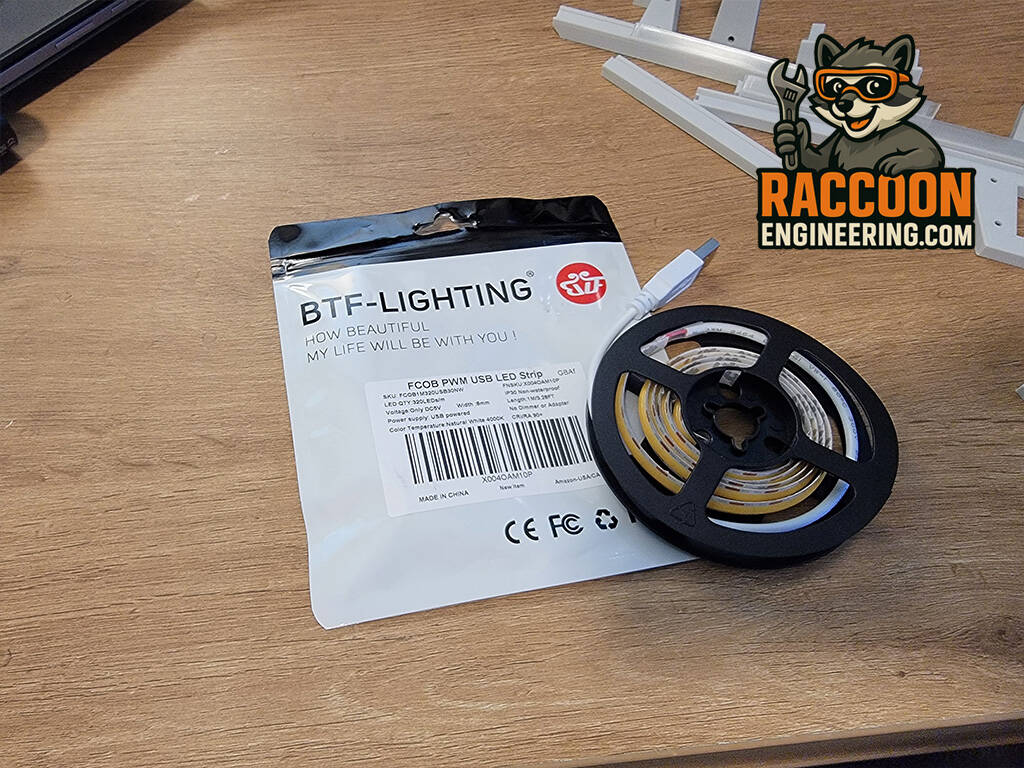
Add lighting to your project on your Kobra 4 printer. This does NOT work with the Kobra X. Kobra X Version available here

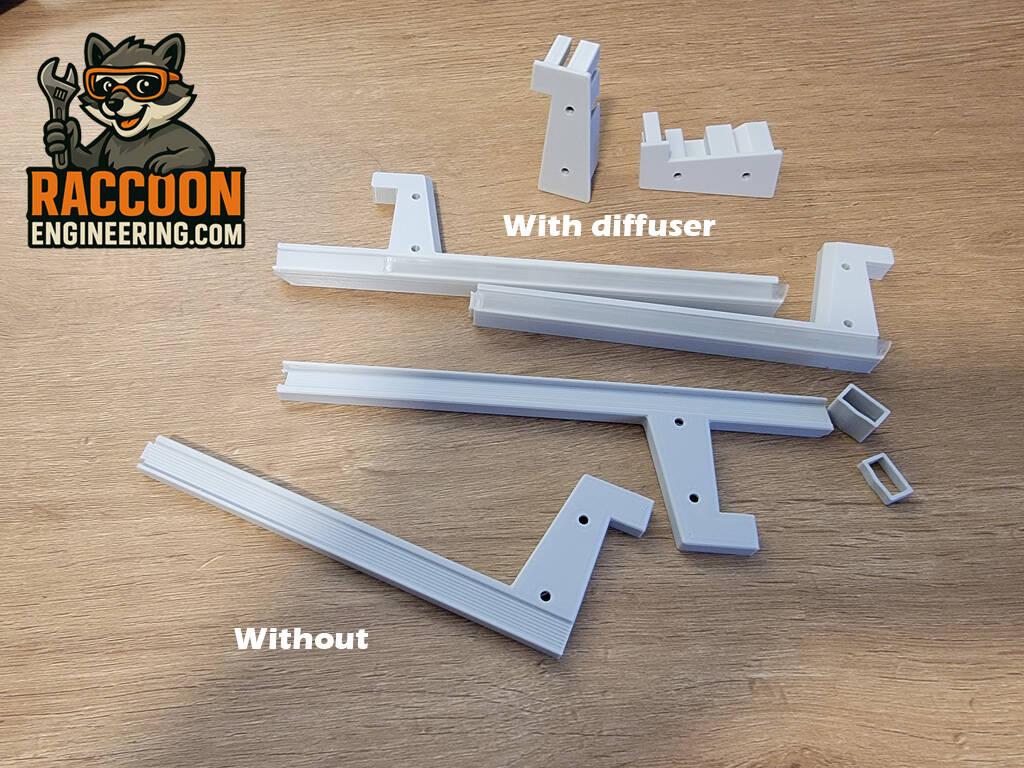
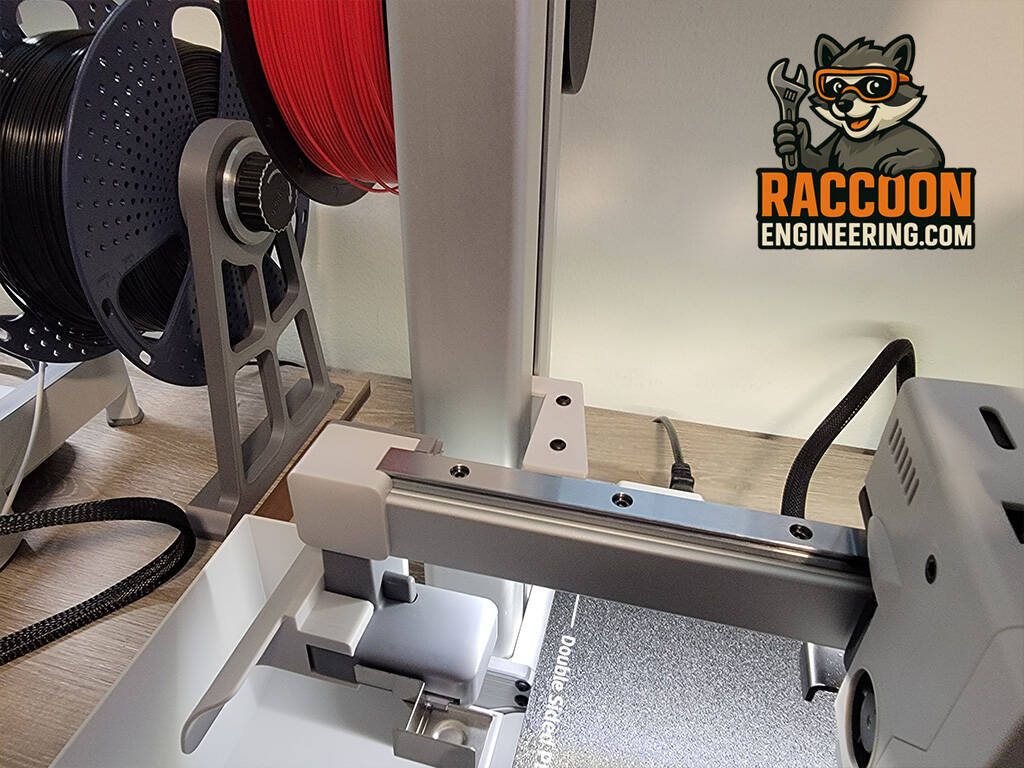
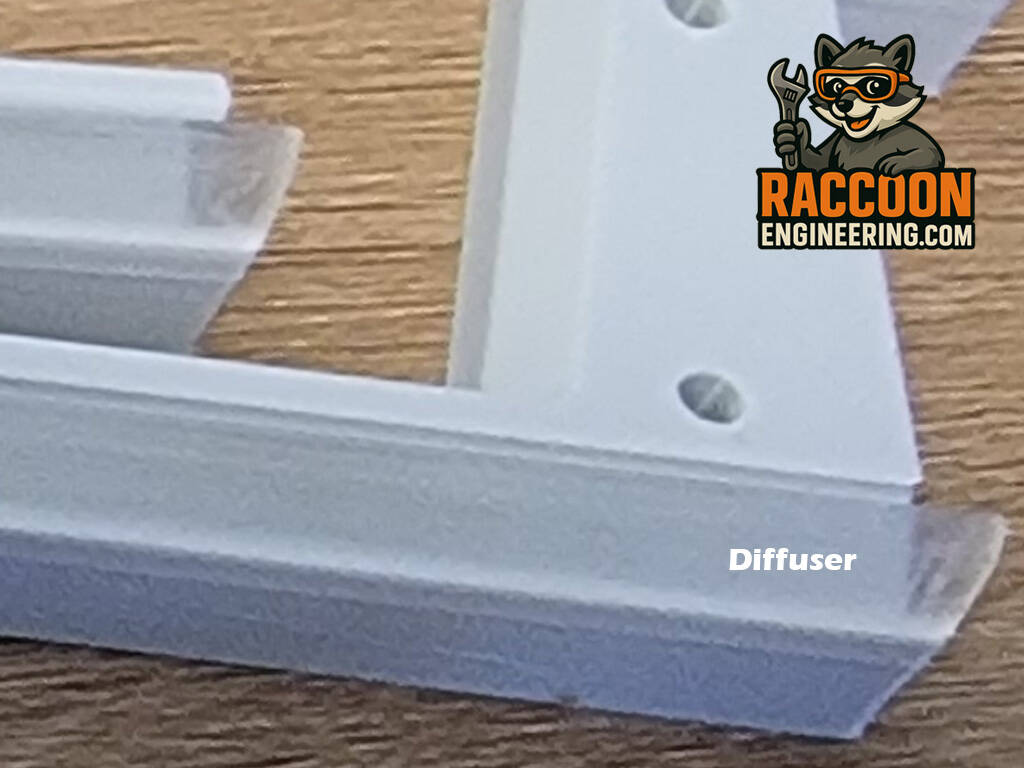
Uses standard 8mm COB and FCOB lighting. Can be powered of the Kobra USB port or any USB wall adapter or computer. You will need a USB cable extension in whatever length you desire to get to your choice of power source. The USB cable routes nicely down the loom on right side. If you are going to run direct off the Kobra USB, there is Amazon link below. Requires four M3 x 30mm fasteners.